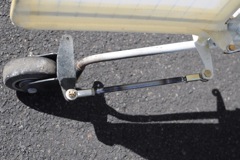
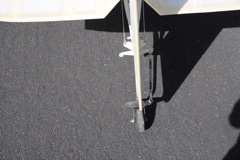
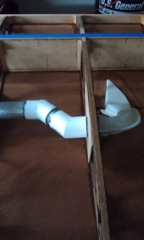
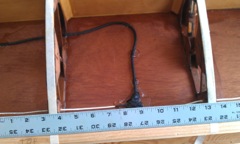
Close up of new tailwheel linkage
|
New tailwheel setup. Hard single linkage. Based off actual pilot feedback.
|
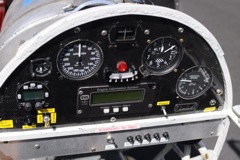
Panel up close. I like the fuel gauge a lot.
|
|
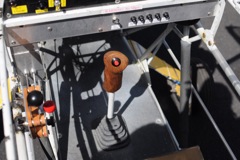
Cockpit view. PTT on stick.
|
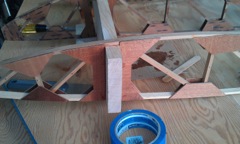
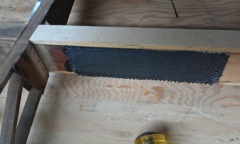
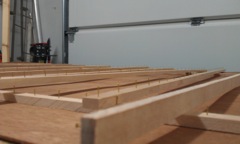
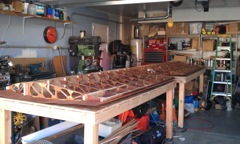
Gluing rib to spar
|
New outer rib glued on
|
|
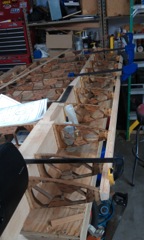
Gluing a rib to main spar
|
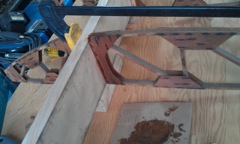
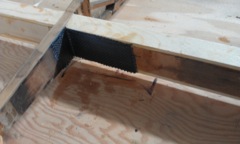
Splice strengthened using carbon fiber instead of 1/4" plywood
|
Splice strengthed in rear spar near a rib
|
|
Splice strengthened over rear spar
|
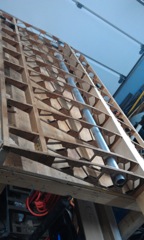
Leading edge attached
|
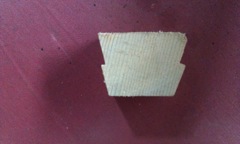
cross section of the leading edge after relief cuts for plywood skins
|
|
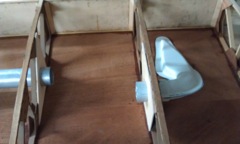
Clean cabin air ducting seen installed in wing
|
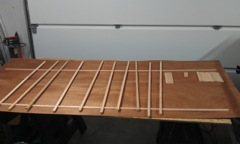
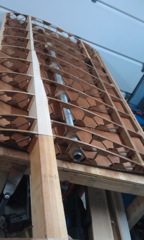
Preparation work for wing skin gluing. Nailer strips cut and pre loaded with brads.
|
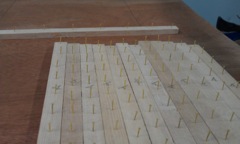
nailer strips up close
|
|
Lots of brads
|
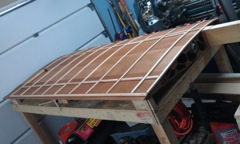
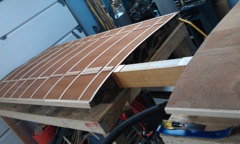
The wing is upside down. Skin glued on with nailer strips tacked in place while glue is drying.
|
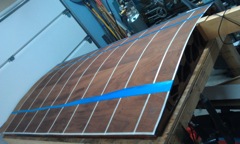
Wing right side up. New skin can be seen installed.
|
|
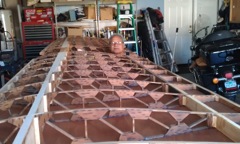
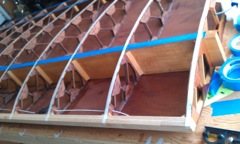
The left wing, upside down with skin installed waiting for glue to cure.
|
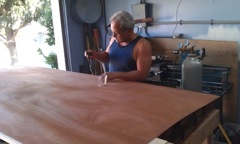
Removing brads that were left behind when nailer strips were removed.
|
A shot along the wing with a head showing area where pilot sits.
|
|
Wing with bottom skins installed.
|
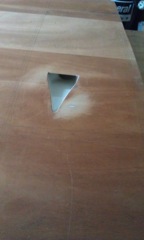
NACA duct for cabin air installed. You can buy the plastic premade duct from Aircraft Spruce.
|
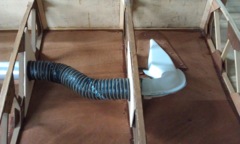
Inside of wing showing duct and plumbing.
|
|
First try at plumbing. Not using this method. I do not want hose clamps inside wing that cannot be accessed.
|
Plumbing done. No servicable parts in wing.
|
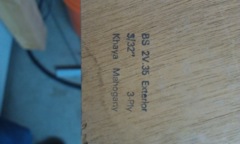
This is the type of plywood used on wing. Why? I got it for free.
|
|
Layout for varnish of upper wing skin. You must not put varnish where glue is going to go.
|
Varnish prep for inside of wing
|
VHF COMM antenna installed. I tested this with my antenna analyzer to get placement correct.
|
|